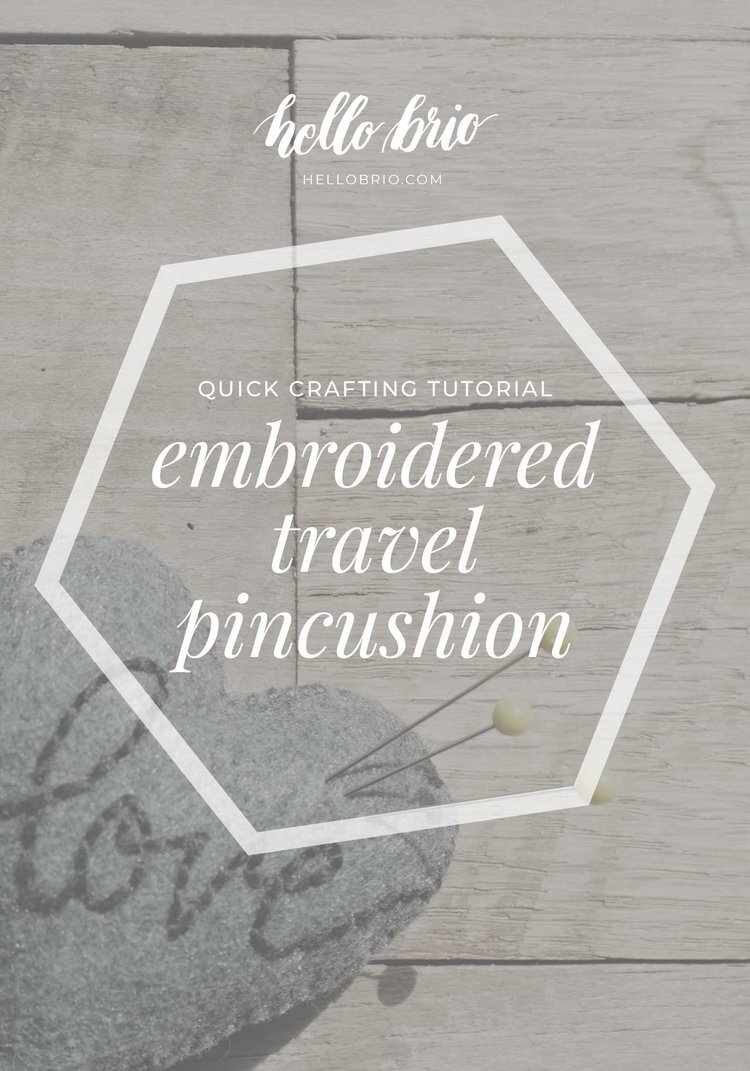
Create an Embroidered Travel Pincushion
As a fiber artist, you need a pincushion. Otherwise you could end up with pins and needles sticking out of your couch or your clothes (or getting stuck somewhere unfortunate and painful).
My mom got me this adorable pincushion in Florida, aptly named the Stickin’ Chicken. I try not to think about cruelty to animals every time I place a pin or needle in her….
However, I find myself in need of a pretty travel pincushion quite frequently—whether I’m embroidering on the train on the way into work, or if I’m planning on being stuck in the hospital for a couple of days because of the impending birth of our baby, Ziggy.
So—through the power of Pinterest inspiration and embroidery energy, I created a cute and quick little project that I wanted to share with you!
Pin for later
Materials Needed for your Travel Pincushion
Embroidery floss - one for lettering and one for the seams
Stuffing (batting or scraps of past projects)
Step 1: Cut and Prepare Your Felt
First, you’ll need to determine what size and shape you want your travel pincushion to be. I opted for a heart shape and used a lid of a box I had nearby as a template for the two pieces of felt.
Next, go ahead and hand letter your word or phrase onto the felt using your Sharpie. Because we’ll embroider with all 6-strands of floss, your thread will cover your single line marks.
Step 2: Embroider your Lettering and Sew Most of the Outside Seams
Go ahead and stitch your lettering. Because of the scale of this project, I opted for a simple backstitch.
Using the same color floss as your felt, begin to do a whipstitch around the outside seams. Leave room so you can fill in your tiny pincushion pillow with batting.
Step 3: Fill Your Pincushion
Use batting to fill your pincushion—or go nearo waste and use cut up felt and thread to fill up your project!
Step 4: Sew Your Seams; You’re Done!
Use whipstitch around the rest of your travel pincushion and you’re done! You can secure the project by knotting on the inside and then dragging the extra thread through the project and hiding the tail.
I think you’ll agree this “love” pincushion is much cuter than the random piece of foam I was using before.
Hope you enjoyed this quick little embroidery project! If you have any questions, comment below.


