DIY hand lettered coloring book page
It's super easy and so fun to create your own coloring book page!
Not to mention—creating anything… as well as coloring… is a great mindfulness practice.
I just launched this course on Skillshare: make sure to check it out and enroll in my newest Skillshare class.
Step 1: Draw your coloring book page
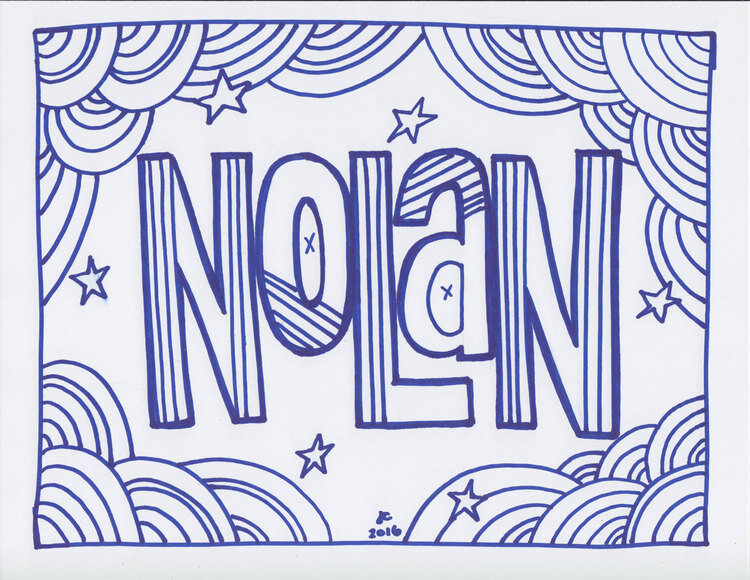
This can be whatever you want it to be! For my coloring book page, I started with a hand lettered "Nolan" with block lettering. All I used to do this was a Sharpie marker and printer paper.
Then I began to add illustrative and doodle-y details with the sharpie, careful to stay 1/2" away from the edges of the paper so it could be easily reproduced or printed by anyone.
Step 2: Digitize your work
Scan in your work at 300DPI (more info on file types and digital files here).
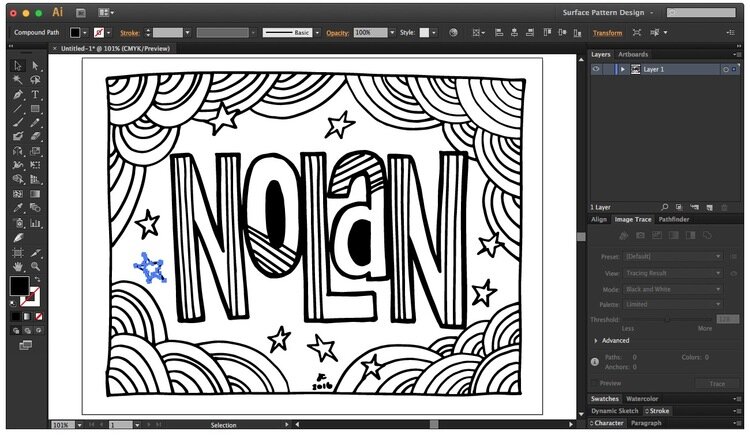
Bring it into Photoshop. Clean up the drawing by pasting the illustration part of your drawing into a grayscale 8.5" x 11" document and cleaning up the levels (CMD+L). Clean up with the eraser tool (E) and the brush tool (B) as needed.
This may seem overkill, but it's a good idea to vectorize your drawing. By bringing your drawing into Illustrator, you can resize your coloring book page to any size desired without losing quality. Plus, it makes it easier to clean up your work in Illustrator in terms of stretching the work to fit new aspect ratios.
Step 3: Print and color!
I printed on copy paper and then again on cardstock so I could color my coloring book page in with watercolor using my travel watercolor palette and my water brush.
Color in your very own DIY coloring book page with watercolor, crayons, markers, or colored pencil.
Supplies I used
Pencil, eraser, ruler (optional)
Adobe Photoshop (30 day free trial here)
Adobe Illustrator (30 day free trial here)
Cover photo via Debby Hudson

